


Free Click & Collect
Within One Hour

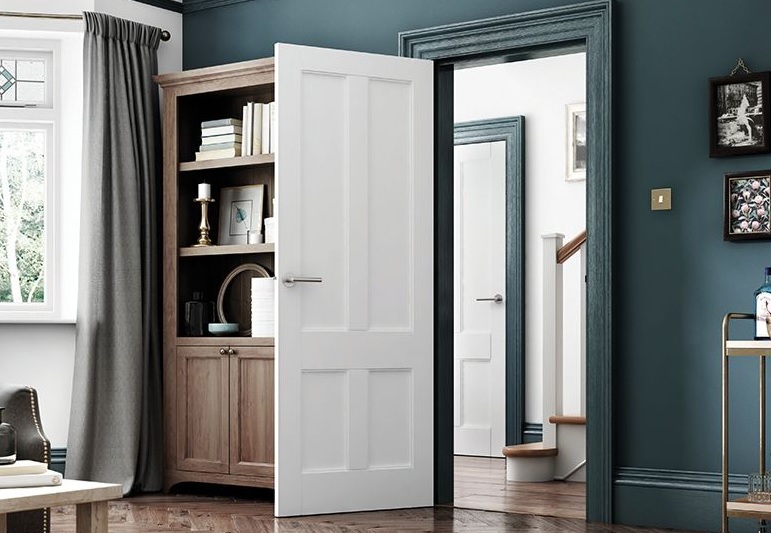
To fit a door you’ll need at least the below items to get you started:
Screws | Rotary tool | Pencil | Finish | Chisel | Screwdriver | Goggles | Drill | Tape measure | Plane | Hinges (or reuse your old ones) | Door | Saw
Prop your chosen interior door up against the existing frame and mark with a pencil how much excess will need to be trimmed from the door to get the perfect fit.
Trim the excess from the edges of the door (equal amounts from each side), using a wood plane for a small amount or a saw for anything larger.
Once your door is the correct size, hold the door back up against the frame and mark out where the existing hinges are with a pencil. Then carve out the hinge recess using a chisel and mallet, using stepped cuts.
Use a hinge to mark the positions of the screws onto the door. Drill in a pilot screw for each hinge and hold the door up against the frame, checking that they’re in the right place. Once certain, proceed with fully drilling in each screw and securing the hinges.
With the door up against the frame, not forgetting to raise the door slightly, place a single screw in each hinge, checking that it opens and closes smoothly and doesn’t stick. When you’re happy that the door functions as it should, fix the remaining screws in place.
Many of our doors are provided unfinished so they can be completely customised to the room it’s installed in. You have three options for finishing the door: varnish, stain or paint. Go for paint if you want a bold solid colour, clean white stain if you want to keep the wood effect with a slight tint, or varnish if you want to show off the colour and grain of the wood, but add a sheen coating.
Before adding the chosen finish, make sure the door is clean of any dust. Begin with the panels, then the mouldings, and then the rest of the door. Follow the grain of the wood when painting and avoid drips to prevent a messy finish. Make sure you use a good quality brush and follow the instructions on the tin, as they may vary depending on the type.
Start by installing the latch: hold the latch case up to the door - lining it up with the position of the strike plate on the door frame, and mark the edges with a pencil.
Measure the length of the latch and drill a hole of the same depth into the edge of the door, and another at the position of the spindle in each side of the door.
Insert the latch into the hole and mark the edges of the latch plate, remove the latch and use a chisel to carve out a recess to the depth of the plate. Push the latch into the created recess and secure – insert the spindle and fit the handles onto the spindle using a screwdriver. Make sure the latch works by closing and opening a few times.
We hope this guide will give you the confidence you need to fit a door yourself. Shop our internal doors now, and be sure to browse our range of tools and workwear to aid you in getting the job done.
Disclaimer: The information contained on this page is intended as an overall introduction and is not intended as specific advice from a qualified professional. Travis Perkins aims to avoid, but accepts no liability, in the case that any information stated is out of date.