


Free Click & Collect
Within One Hour

Reading time: 8 minutes
If you’re looking to lay a garden patio or path, extend your kitchen or dining area, or if you just want an easy-to-maintain garden or driveway - porcelain paving will create the perfect outside area for entertaining, relaxing and alfresco dining. As well as being strong and durable, porcelain has a range of additional benefits:
Scratch, stain and abrasion resistant - porcelain is fired at high temperatures with a hard glaze, making the slabs tough enough to stand up to heavy use
Easy to maintain - most porcelain slabs don’t need sealing, so they’re easier to maintain than other natural stone
Long lasting - porcelain is more dense than ceramic, making it the ideal choice for homeowners with children and/or pets
Absorption resistant - porcelain has a low porosity making the slabs highly water resistant to help prevent damage
Versatile - porcelain slabs come in a wide range of colours, shapes and styles, including wood effect or with a natural stone look, for a traditional or ultra-modern finish
Slip resistant - porcelain naturally discourages moss growth which can be slippery underfoot
Fade resistant - the strong surface resists colour fading from sunshine, weathering and heavy use
Highly resistant to heat, frost and cold temperatures - ultra durable and heavy duty, the tiles are less affected by extreme temperatures
Easy to clean - porcelain has fewer cracks and crevices than natural stone, making it easier to clean using a cloth, brush or mop
The downsides to porcelain paving are that the tiles are extremely heavy and it can be hard to cut for laying the slabs. However, these issues can be overcome using the right tools and expertise.
It’s a good idea to make sure you have all of the tools and materials you need before you get started - your local Travis Perkins branch will be able to give you some good advice if you need help. Here’s a list of suggested materials:
Jointing compound - for use between the slabs
Laying porcelain slabs can be tricky, as they are heavy and hard to cut, but once laid properly the result looks great and they’ll last for many years. Porcelain tiles won’t flex, so you need a strong and sturdy base, as well as an appropriate slope gradient and drainage solution. Leave approx. 5mm between each slab and lay the slabs gently into position one corner at a time.
Be sure to read our handy guide to cutting porcelain tiles before starting.
Here’s how to lay porcelain slabs to get the best finish:
Step 1: Measure the length and width of the area you want to pave. Multiply your measurements together to give you your square meterage - this will give you a good indication of how many tiles you’ll need and how much sand, cement and mortar you’ll need for your base.
Step 2: Mark out the patio area - you could use stakes and string. Remove any roots, vegetation or topsoil within the marked-out area ready to dig the area for your sub base.
Step 3: Dig approx. 150mm-200mm deep in the area you’re laying your patio. Ideally use your spirit level to create the gradient slope to allow the water to drain. Aim for a 1 in 80 fall and identify drainage points and install any drainage equipment needed.
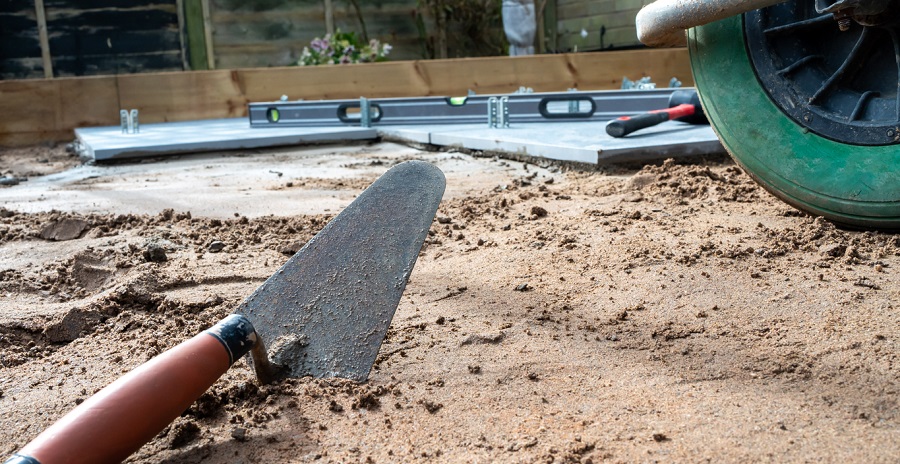
Step 4: Fill with a sub-base, such as gravel or sharp sand, 100mm-1500mm (depending on how deep you dug down) and evenly compress with a plate compactor or rammer to ensure there are no gaps and loose material. You could also whack this down manually.
Step 5: Add a layer of mortar on top of your sub-base, approx 40mm-50mm. A suggested cement mix is 4 parts sand to 1 part cement. It’s essential to have a sturdy sub base to prevent the tiles from cracking and moving. Many experts suggest laying the mortar in small sections, rather than all at once, to prevent it drying out.
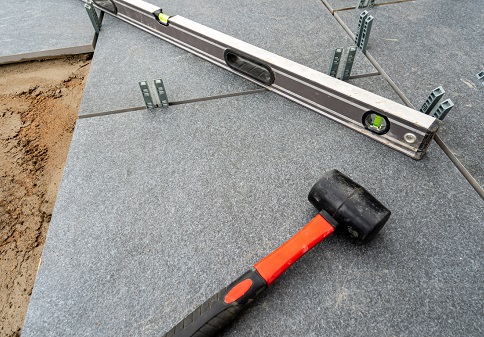
Step 6: It’s recommended that a layer of priming slurry is used on top of the mortar. This is because porcelain tiles are low-porous and may not adhere to the mortar, so this helps keep them in place. Before laying your first tile, coat the underside with the priming slurry, to aid adhesion. Then, starting from a corner, place the tile and use the rubber mallet so it’s fixed in place and check that it’s level.
Step 7: Once you’re happy the first tile is in place, continue laying the rest of the slabs leaving a gap of approx. 3-5mm between each slab - use spacers if you need to. Make sure to clean up any excess mortar or slurry from the top of the tile as you go, so it doesn’t stick. You’ll probably need to cut some tiles down to size to fit the exact area.

Step 8: Leave to set for a minimum of 24 hours. Do not walk on the slabs. If necessary, cover the area with a tarpaulin to protect from rain, weather and animal damage.
Step 9: You can fill in any gaps with the same mortar mix, or you could use sand if you prefer. Press down with a trowel to pack down and sweep over with a broom any loose mix to re-fill the joints. You may need to go over this several times to make sure no areas have been missed.
Step 10: If you want a neat and tidy finish you can use a jointing compound to complete the job. Depending on the tile type you’ve used, you may need to seal the porcelain tiles at this point. The patio is now complete!
Experts recommend laying porcelain slabs on a solid mortar base for the best results. However, laying porcelain slabs on screed is possible if the tiles are exactly the same thickness. Keep in mind that newly-laid screeds contain large amounts of water, which can cause the tiles to move and crack as it dries, so you may need to wait several days for it to dry before laying the slabs.
After the base is ready the steps above can then be followed to lay the porcelain tiles.
Laying porcelain slabs on sand is possible, and some landscapers like this system as it can help distribute the heavy slabs’ weight and also aid drainage. Keep in mind though that for many patios and outdoor areas the slabs may not stay straight and level when laid directly onto sand, and as the tiles won’t bond to sand you’ll need a bonding agent.
Most experts recommend using a mortar mix, with 4 parts sharp sand (or grit) to 1 part cement instead. If you do choose to use a sand base, ensure you have the correct materials and tools, plus you may need additional landscape fabric to place underneath to prevent weeds from growing through the sand.
Laying porcelain slabs on concrete bases can certainly be done, as it creates a rock solid layer. However, if the concrete cracks or moves this is transferred into the tile, which can break if the base isn’t installed correctly. It can also take longer to dry before you can lay the slabs. You’ll also need an exterior tile adhesive to help the slabs stick to the base.
As per the other methods, you can follow the slab laying steps above once your base has set.
Now you’re ready to start shopping for the perfect porcelain tiles and create a show-stopping garden feature!
To lay porcelain slabs outside, they should be ideally applied to a solid substrate base, such as concrete, or a sand and cement mix screed of 4 parts sharp sand (or grit) to 1 part cement. This will prevent the tiles from moving and cracking.
Laying porcelain slabs on sand is possible, and some landscapers like this system as it can help distribute the heavy slabs’ weight and also aid drainage. Keep in mind that though for many patios and outdoor areas the slabs may not stay straight and level when laid directly onto sand, and as the tiles won’t bond to sand you’ll need a bonding agent.
For porcelain paving and patios, the mortar bed should be around 30-40mm thick. Remember that Building Regulations Part C states that there must be at least 150mm between the damp proof course and the paving, so keep this in mind when digging out your base.
Depending on the desired finish, leave a gap of around 3mm to 5mm between each porcelain slab - use tile spacers if you need to. It’s not recommended to have a gap of more than 20mm between the tiles.
Disclaimer: This is a guide only, so please always read the manufacturer’s instructions first.
The information contained on this page is intended as an overall introduction and is not intended as specific advice from a qualified professional. Travis Perkins aims to avoid, but accepts no liability, in the case that any information stated is out of date.