


Free Click & Collect
Within One Hour

Reading time: 5 minutes
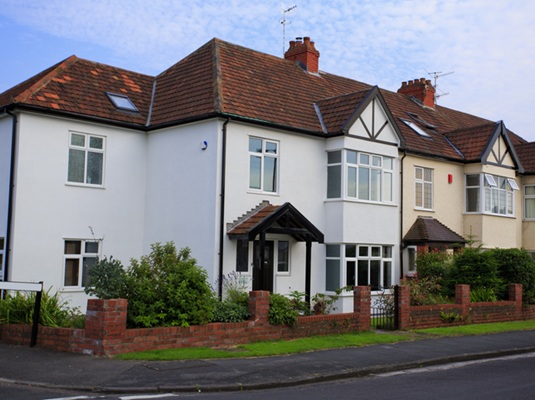
Rendering is where the exterior surface of a property has a protective finish applied, so that blockwork and brickwork on walls can be covered up.
There are various reasons why wall rendering is a popular aspect of a property’s design, including:
The coat will be weather resistant.
Rendering a wall increases a property’s protection against dampness.
A property can become better insulated by having its exterior walls rendered.
The coat gives the exterior of a property a neat and clean appearance that is aesthetically pleasing.
It is also important to note that rendering is different to plastering.
Although both are created from a mixture of cement, lime gypsum, sand and water, render has a composition that is a lot heavier than plaster due to a different proportion and consistency of the materials being used.
While both jobs will involve a similar process for covering walls constructed from brick and mortar then, rendering is only to be used to coat external walls. Plastering, on the other hand, will see a coating being applied to a property’s interior walls or a room’s ceiling.
Another point to bear in mind when given a job to render a wall is that the approach will vary depending on the property you are working on.
These are the nine types of rendering finishes you may encounter:
Acrylic render – This is usually applied as a waterproof topcoat over a base wall rendering solution.
Cement render – A traditional type of wall rendering, where cement and sand are mixed before the completed solution is applied to a wall in layers.
Clay render – Another traditional method of rendering a wall, though using clay instead of the cement and sand mixture present in cement render.
Cork render – This sustainable and natural wall render boasts brilliant thermal insulation properties, as well as being able to adhere to a wide variety of surfaces.
Lime render – Made from a mixture of lime and sand, this method of wall rending is suitable when making improvements to an older property.
Monocouche render – Also known as a single coat render, this through-coloured wall render can be sprayed or trowelled onto a property’s wall and then requires low maintenance.
Pebble dash – This type of wall rendering is very hard wearing and sees the exterior wall of a property being covered in a mixture of small stones and pebbles.
Polymer render – Incredibly weatherproof, this method of rendering a wall can make a property’s exterior very resistant to cracking.
Silicone render – While a premium type of wall rendering, the solution stands out for being incredibly durable.
Whichever method you choose when rendering a wall, following these steps will ensure you carry out the work to a standard that will leave the property’s owners very impressed:
1. Prepare the surface that is being rendered by using a chisel to remove any old render solution.
2. Any dirt or dust should also be removed using a stiff dry brush, while mould and moss should be taken off the wall by applying effective cleaning chemicals.
3. Fill in any cracks which you find on the wall once the old render, dirt, dust, mould and moss have all been removed.
4. Wash the entire wall with a hose and leave to dry.
5. Lay tarpaulin sheets across the floor at the bottom of the wall being rendered, taping these to the edge of the wall and ground.
6. Choose the correct type of render mix for the property and wall that you are working on.
7. Mix the render mortar and water together into a bucket by following the instructions on the packaging.
8. You can use a shovel to begin mixing the solution together, though moving onto using a paddle mixer attached to a power drill so that an even and stiff consistency can be achieved.
9. Once fully mixed, pick up a trowel and transfer some of the render solution onto a plastering hawk.
10. Smear the render mixture onto a wall at a 45-degree angle, making sure to keep the application even.
11. After a layer across the entire wall is 5mm thick, lay rendering mesh directly on top of the first layer of render in a smooth and flat manner.
12. Give the first layer of render and rendering mesh time to dry entirely.
13. Apply a second coat of render, using the same technique as step 10 but making it 10mm thick this time.
14. Give the second layer of render 30 minutes to dry, before straightening out the render with a long and smooth plank of wood.
15. Finally, wet the wall with water from a spray bottle and a damp sponge to achieve a smooth finish.
Now that you know how to better protect the exterior walls of a property, make sure to browse through more of our exceptional home maintenance advice guides to keep expanding your knowledge on ways to keep a house in its best possible condition.
Disclaimer: the information contained on this page is intended as an overall introduction and is not intended as specific advice from a qualified professional. Installation may differ from project to project.