





Free Click & Collect
Within One Hour

Reading time: 6 minutes | Published 5 November 2026
A good finish starts before any paper or paint goes up. Surfaces should be clean, sound and properly prepared before decorating begins.
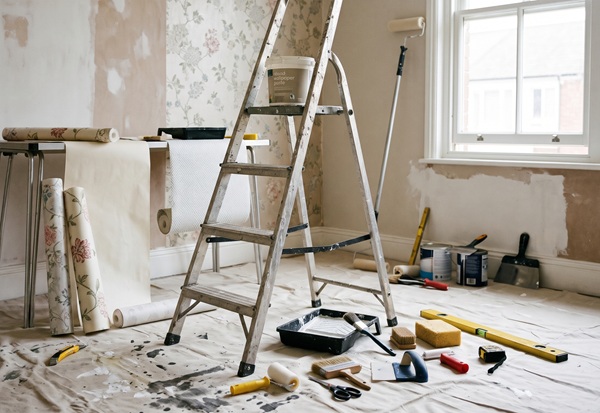
Preparation essentials include:
Wallpaper scrapers and stripping knives – for lifting and removing old wallpaper from the surface.
Decorating knives – for stripping old coverings, applying filler and smoothing repaired areas.
Sanding and abrasives – to level filled or uneven areas ready for paper or paint.
Measuring and cutting tools – accurate measurements matter, particularly with patterned wallpaper that needs to line up across adjoining lengths.
Taking time on preparation reduces the risk of rework later, especially where old paper or uneven surfaces are involved.
The abrasive used should suit the condition of the surface and the amount of material that needs removing. Coarser grades can deal with heavier imperfections, while finer abrasives are better suited to smoothing filled areas before the finish is applied.
Dust should be removed before papering or painting so it doesn’t interfere with adhesion or the finished surface.
For the hanging stage, a sharp trimming knife helps with cutting around corners and fittings, while a spirit level can help keep the first length straight.
Getting the first drop straight is particularly important, since every following length is positioned against it. Check batch or dye lot numbers across rolls before starting, and follow the manufacturer's instructions for the wallpaper and adhesive being used, as application requirements can vary between different wall coverings.
Where the job moves from wallpapering into painting, or is a painting job on its own, the main tools include:
Paint brushes – for cutting in and detailed areas.
Paint rollers – for covering larger wall and ceiling areas.
Roller trays and kits – for loading paint onto rollers and keeping paint brushed stored together.
Decorators caulk – for filling small gaps around frames, skirting and coving before painting
Matching the right roller pile to the surface makes a noticeable difference to the finished coverage. A short pile suits smooth, flat walls and ceilings, while a longer pile carries more paint and is better suited to rougher or textured surfaces such as masonry or Artex.
Brush size should follow the detail: smaller or cutting-in brushes for precision around frames, fittings, corners and edges, wider brushes for larger flat areas. For larger walls and ceilings, an extension pole can also reduce the amount of repositioning needed and help maintain a consistent application across the surface.
Protect the work area before decorating, especially in occupied properties or where other trades need access. This can include:
Dust sheets – to protect furniture and flooring while work is underway.
Carpet and floor protection – useful where ongoing access is needed.
Masking tape – for protecting skirting, frames and fittings; remove carefully in line with the manufacturer's guidance to avoid damaging the finish.
Clearing up as you go – materials from the job, such as old wallpaper or packaging, should be disposed of in the correct way once work is complete.
Choose protection to suit the surface and expected foot traffic, especially where other trades need access. If you're planning the wider job before you get to tools, our decorating checklist covers what to plan for from start to finish.